Kevin’s Upgrade #1, Build Plate
Description
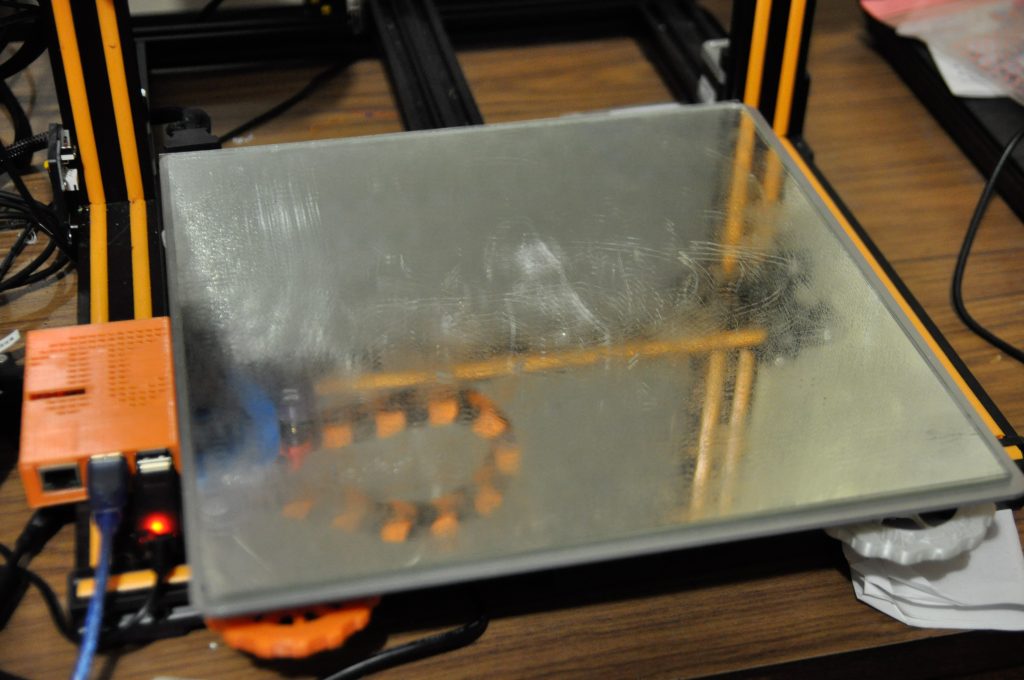
The default build plate on a Creality CR-10S consists of a glass plate on top or the aluminium heat plate. This bed is notorious for not being level and also creating difficulty with bed adhesion. I had to concur with this when I received my CR-10S and one of the first upgrades I did was to replace it with a Lote glass tile from IKEA. This was successful to some degree but I still found myself looking at gluesticks and hairspray to help prints adhere. I resolved this by adding a PEI sheet to the glass tile.
This worked really well. In fact things adhered so well, and so consistently that I sometimes scratched the PEI getting them off with a scraper.
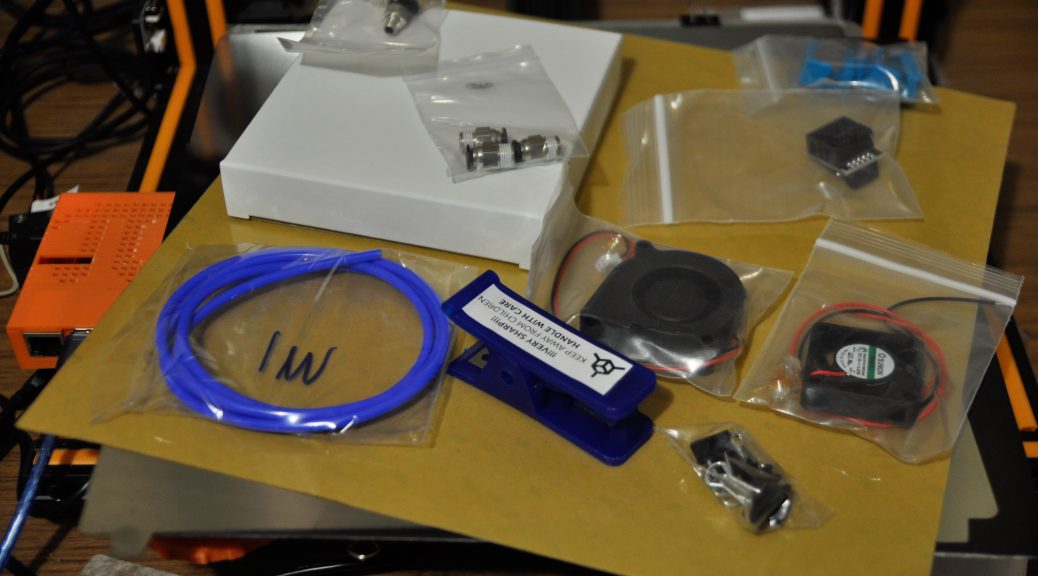
Whilst looking at the EZBoard Lite from TH3D I came across the EZFlex system. This looked like the perfect solution. A magnetic base with a flexible steel sheet. On top of this you could apply a choice of two surfaces, the EZMat surface or a PEI sheet. As I had success already with PEI I decided to go down that path.
Installation
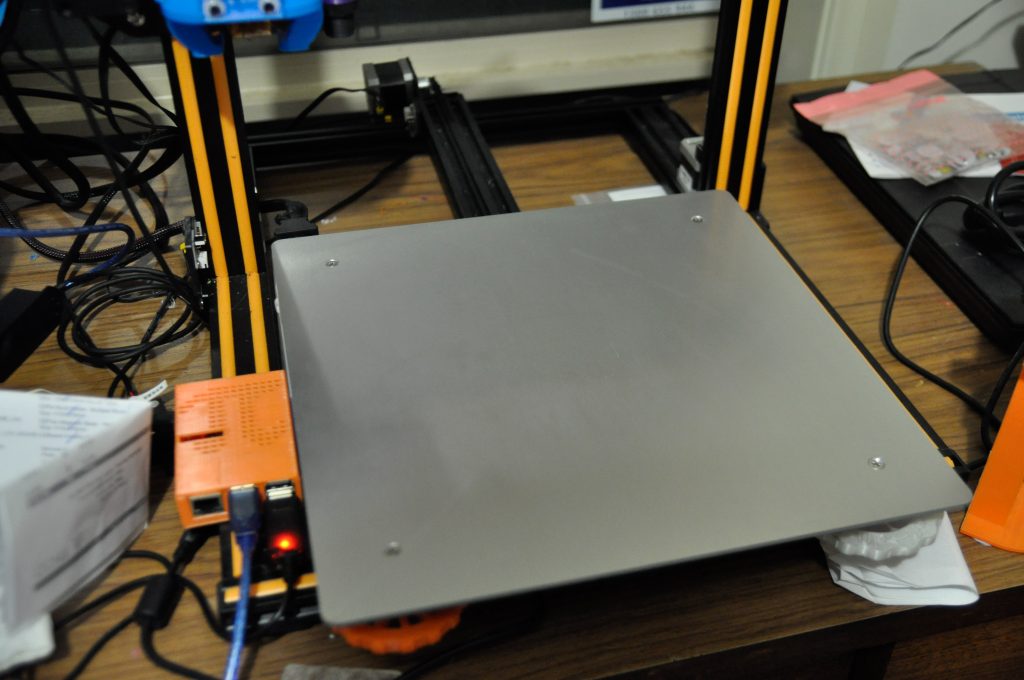
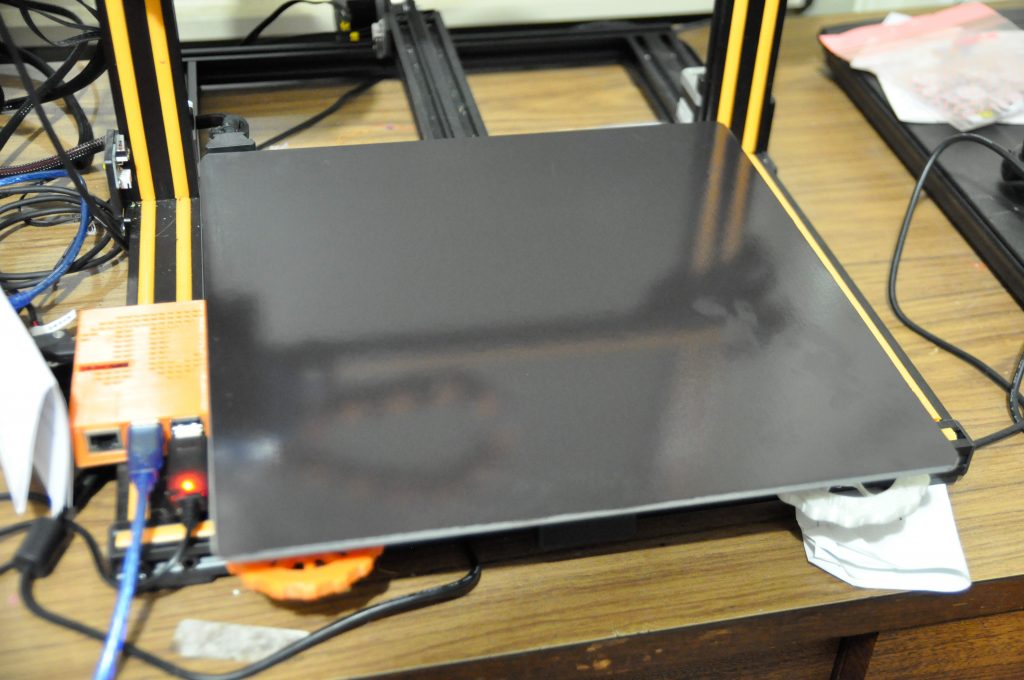
Installation couldn’t have been any easier. I removed my old glass tile. Carefully applied the magnetic sheet to the bed. Trimmed around the edges to ensure a good fit. The steel sheet sits on top of this. I then applied the PEI sheet to the steel sheet. This was pretty easy going except I did miss the fact that there was a protective sheet on top of the PEI sheet. I was cursing Tim about bubbles in sheet and how easily it scratched until I realised there was a whole layer to remove.
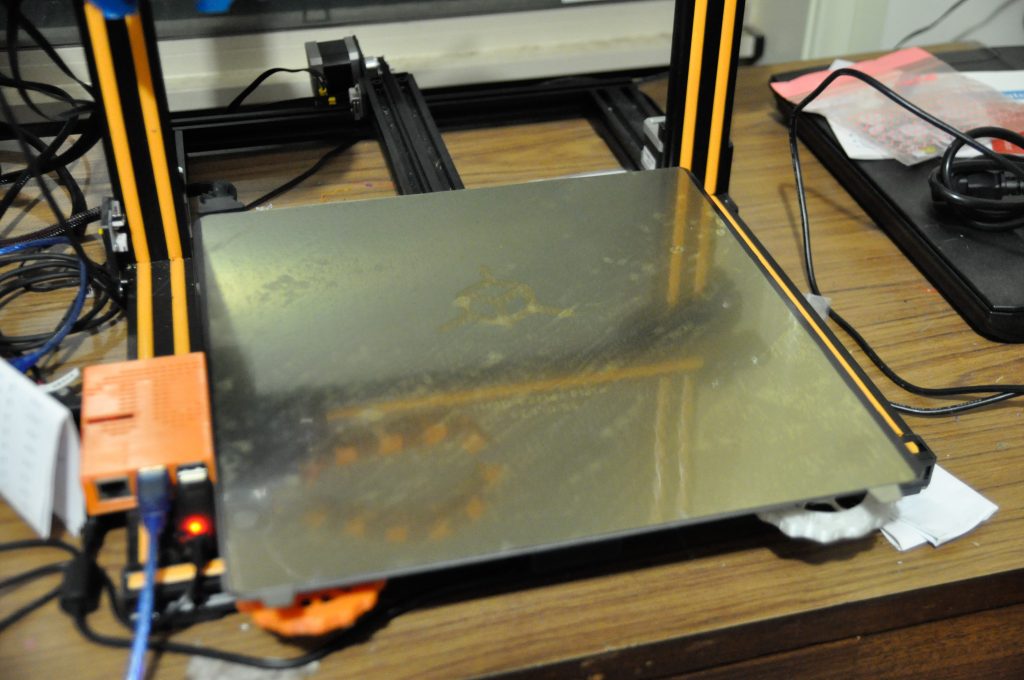
Conclusion
I have done a couple of prints since installing this sheet. ABL and adhesion are on a par with my previous PEI sheet. The ability to lift the plate off and flex it to remove the print is, in my opinion, well worth the price of the EZFlex system.